Whitelabel Dashboard
Creating plans and pricing considerations
Learn how to set up the INNOCHAT white label dashboard, configure your app, connect your domain, set up email senders, add API keys, and activate Stripe for subscription plans. This guide walks partners through the entire initial setup process step by step.
In the “Subscriptions” tab of your whitelabel dashboard, you can use the “Create new plan” and “Create new addons” buttons to create paid plans and add-ons once you have created or linked your Stripe account to your app.
If you would like to edit your paid plan or add-on after you have created it, we ask that you do this through Stripe. This is because there are many complications that can arise, especially if there are already users paying for the plan or add-on that you want to change.

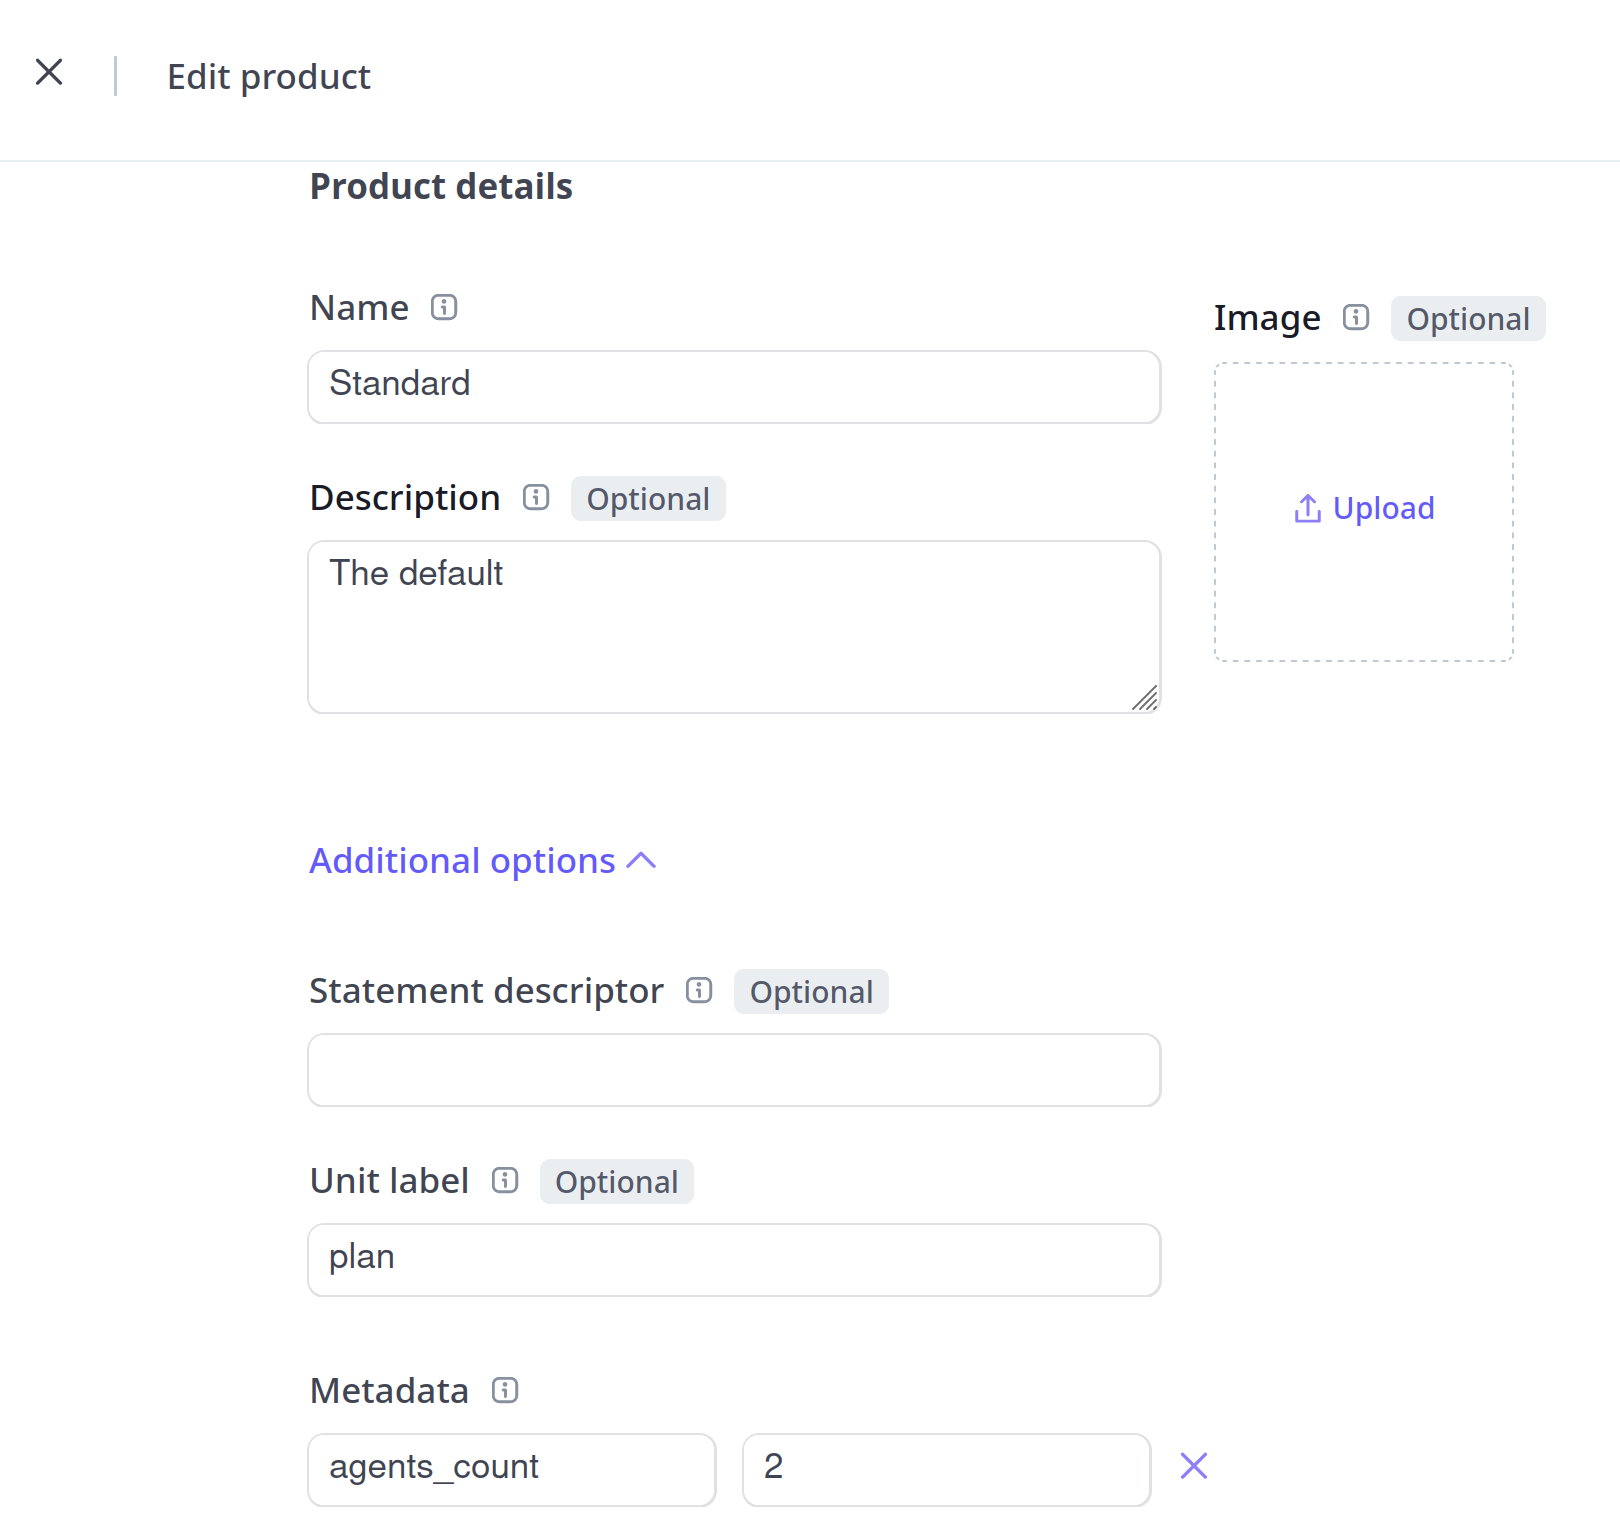
In your Stripe account, you can edit your Products as needed. As seen in the example above, you can change its name, description, metadata, and feature list(not shown in screenshot). Do not change the Unit label. You can change the integer or boolean value of each metadata row to adjust the limits of your plan. Do not change the names of the rows (e.g. “agents_count”), as the app relies on those keys to interface with Stripe, and changing them would break the app. If you would like further assistance with editing your Stripe Products and Prices, please contact us.
When editing Prices, please ensure that every price has a lookup key. These keys must end in “plan” or “addon”. For example: “monthly_pro_plan”; “token_limit_addon”. Prices created through the dashboard will have these already, but you will need to add these to the prices you create on your own.
